For our advertisement we had to create a poster, due to our polygraph work we did with James I thought using this technique would make this poster more unique as well as adding a retro feel to it.
I found an image of Gliese 832 c and used this to create the polygraph planet. I began to use the polygraph method to create the planet, after a quarter of it was done Callum took over as I had to take screenshots of the process for our movie.
There were no problems during this process it just took a bit longer as the triangles around the outline of the planet had to be shorter to make the planet have a smoother edge.
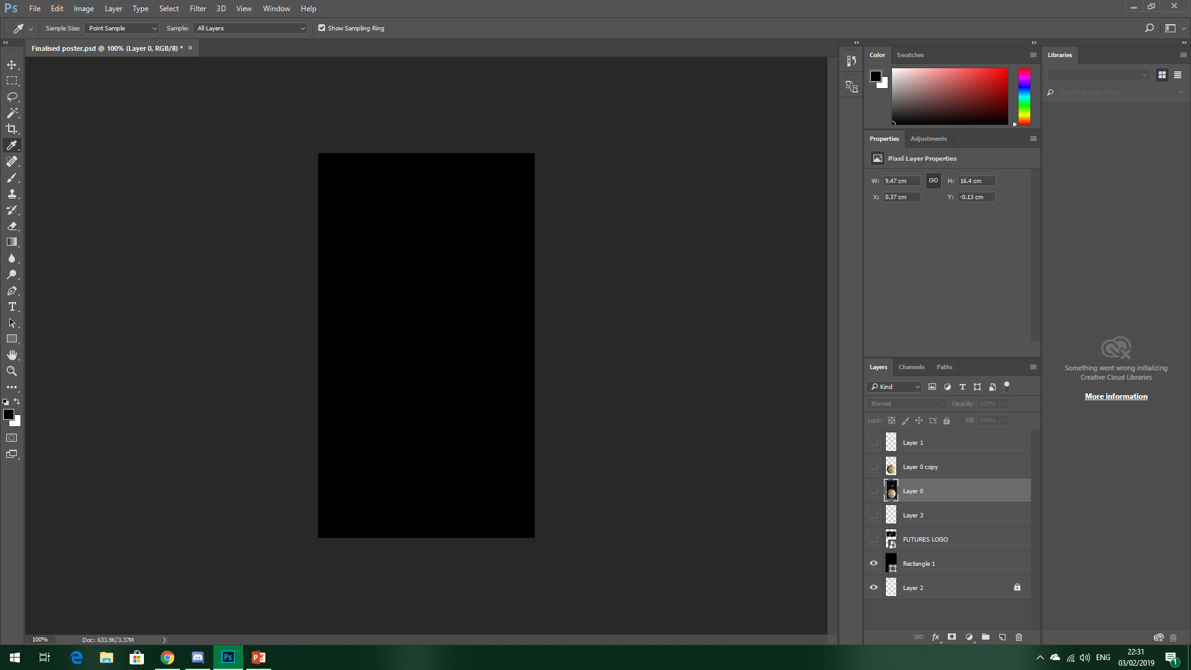
STEP 1 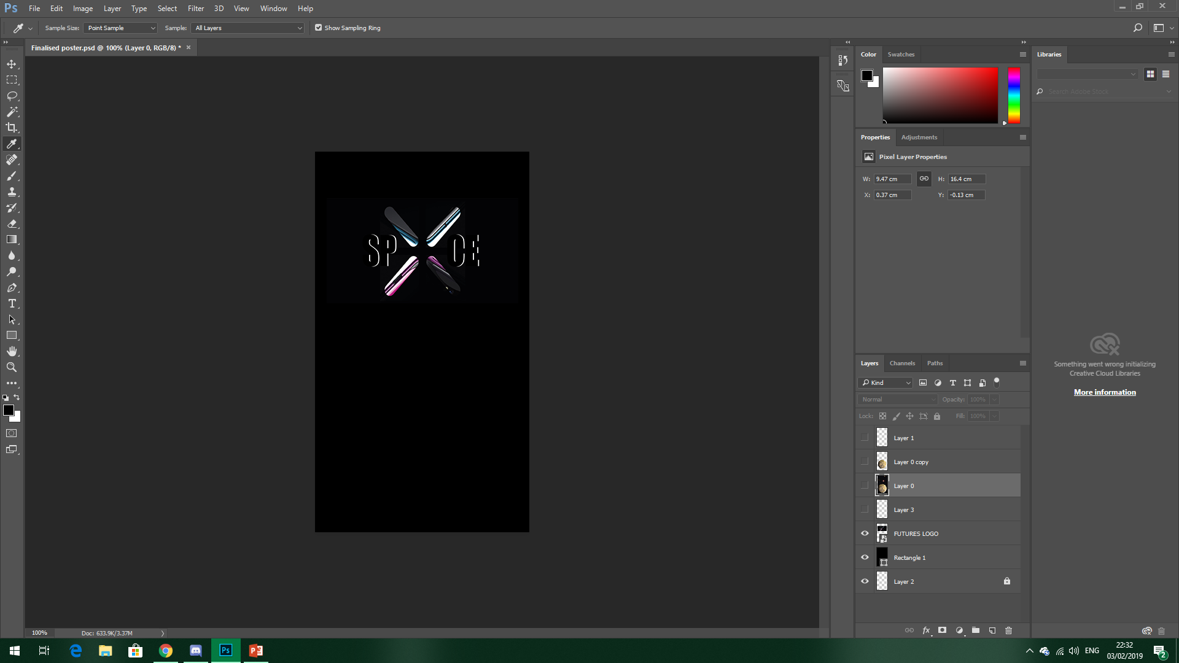
STEP 2 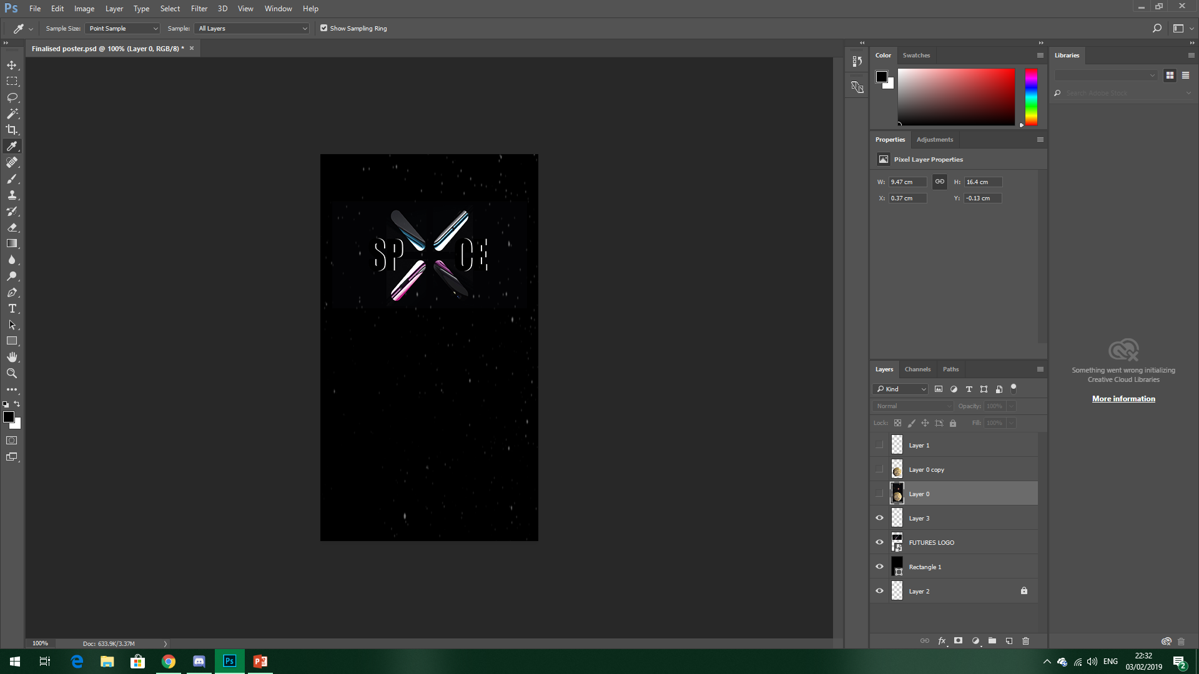
STEP 3 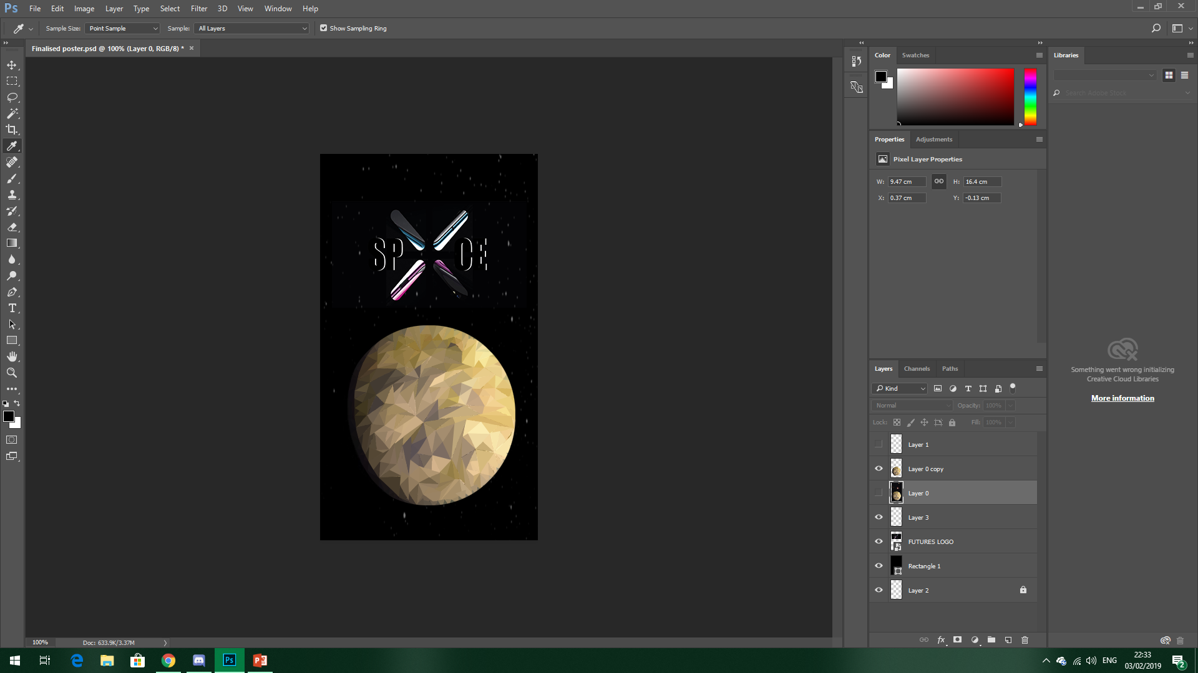
STEP 4
Step 1 – We started with a black background, this is purely because of the background of the ‘X’.
Step 2 – Callum added the SPXCE logo onto the black background on a separate layer.
Step 3 – Callum then added a stary background as another layer.
Step 4 – I started off the polygraph image of the planet Gliese 832 c by using the shape tool and averaging the colour. Callum continued using this process to finish off the poster.
In the darker areas of the planet, like the shaded areas, we struggled to see the triangles we added in, however Callum increased the brightness so this was not a problem.
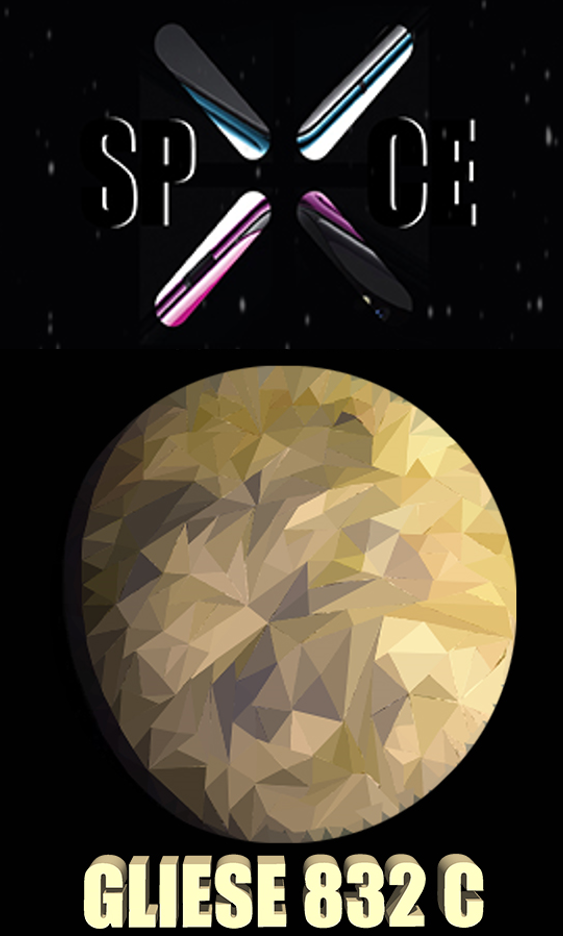
Finally Iadded 3D writing of ‘GLIESE 832 C’. We used the droplet tool to use one of the lighter colours on the planet. This completed our poster.
However we did end up facing a problem, Callum was taking screenshots of the process of creating the poster but did not save any of these. Even though he did re take the screenshots this did not include the finished poster. As I didn’t have enough time to do this myself I simply took the image from the end of our advertisement and cropped this on top of the last screenshot of the poster we found.
I am very happy with the poster, its simplicity of the layout with the complexity of the polygraph planet looks great!
